Saturday, 24 December 2011

Merry Xmas

There has been a flourish of work in the last 10 days so one final report for 2011.

The larch work is now fully completed on both the hosue and garage so there is lots more varishing to be done when the weather co operates with us again

Garage door finished

Larch detail on corner window

The pend glass roof has also now been installed so externally the house and garage are complete externally

Glass roof to pend installed

Close up of glass pend roof

The ground works guys have also been back installing the rain water harvesting tank, filter and getting on with installing the remaining drainage.

Top of rain water tank and filter

Drainage outside study

Drainage at back of garage

Work has now stopped for the year and will commence again on January 9th (weather permitting). There are 2 to 3 weeks ground works remaining so the focus for 2012 will be getting on with the internal works.

Merry Xmas and a Happy New Year to everyone

Tuesday, 13 December 2011

Garage exterior complete

Another work weekend finished and things continue to progress well. This weekend was cold with a sprinkling of snow on the ground when we arrived on Saturday morning which made things look very atmospheric.

View of the south face


Close up of dining room & bathroom

The garage exterior is now all but finished with only the top coat of harling to go onto the gable end closest to the house. The garage doors are in and the colour matches very well with the larch cladding.

Garage doors

The whole work weekend was spent laying DPM and cliptrack on the first floor in preparation of screeding the upper floor. I had a full work crew with me with my parents and Heidi's dad helping out so many thanks to them for all their efforts. It all takes a lot longer than on expects doing all this fiddly work. We managed to break the back of the job and only have a small section of DPM & cliptrack to go on the first floor before we can get the pipe down. Current plan is to get this done in February and screeded then as well.

DPM & cliptrack laid

In the meantime we will be waiting for the last of the ground works to be completed. Don't think this will happen until January and then we have to hope the weather co operates with us. Need to get this done so we can get water onto site for filling the UFH loops.

Monday, 28 November 2011

Trench warfare!

Another weekend of work completed on the house this time digging the trenches for the GSHP flow and return lines that run from the unit to the bore holes. With the trenches required to be 1m deep and 500mm or so wide we hired in a small 1.5 tonne mini excavator for the weekend to take the majority of the workload.

Tor at the helm

Using this was a blast having never actually used one before!. Two joysticks with 2 degrees of motion each gave the hand eye coordination a thorough work out but by the end of the job it was feeling much more natural. Makes you appreciate the skill level of the guys who do this for a living and make difficult jobs look easy.

While the mini excavator shifted most of the soil we still had to resort to hard manual labour to hack through a section of weathered granite that the bucket couldn't get into. This was up to 10" thick at some points and my arms felt the work out having to swing the pick axe to smash through this. The areas around the bore holes also needed the more dexterous human touch to excavate. Thanks to mum for getting into the trenches with me and sharing some of the hard work.
Tor & Evelyn in the trenches


Finished trenches

Work has also progressed on the garage with the block work all complete and the granite work on the front progressing well. The slating is complete as well now on the garage and the beams are installed between the house and garage to take the glass pend roof.

Garage front

Garage back

Granite work on garage progressing

Internally the partition walls and ceilings are now completion the first floor so we are good to go now with getting the UFH pipes laid upstairs.

Family bathroom toilet

Storage closets bseide family bathroom
Have decided to lay the screed in two separate jobs, first floor first followed by the ground floor. this will work out to be logistically easier and psychologically better as we appear to be progressing more quickly. With one more work weekend this year and a work party lined up again I hope to get all the piping down but will need a water supply to filling and pressure test the system before screeding.

Next update in a couple of week time

Sunday, 20 November 2011

Internal works progressing

Progress has continued over the last few weeks with the garage roof starting to take shape and the partition walls starting to go in on the first floor.

North side of garage roof almost complete
House & garage together

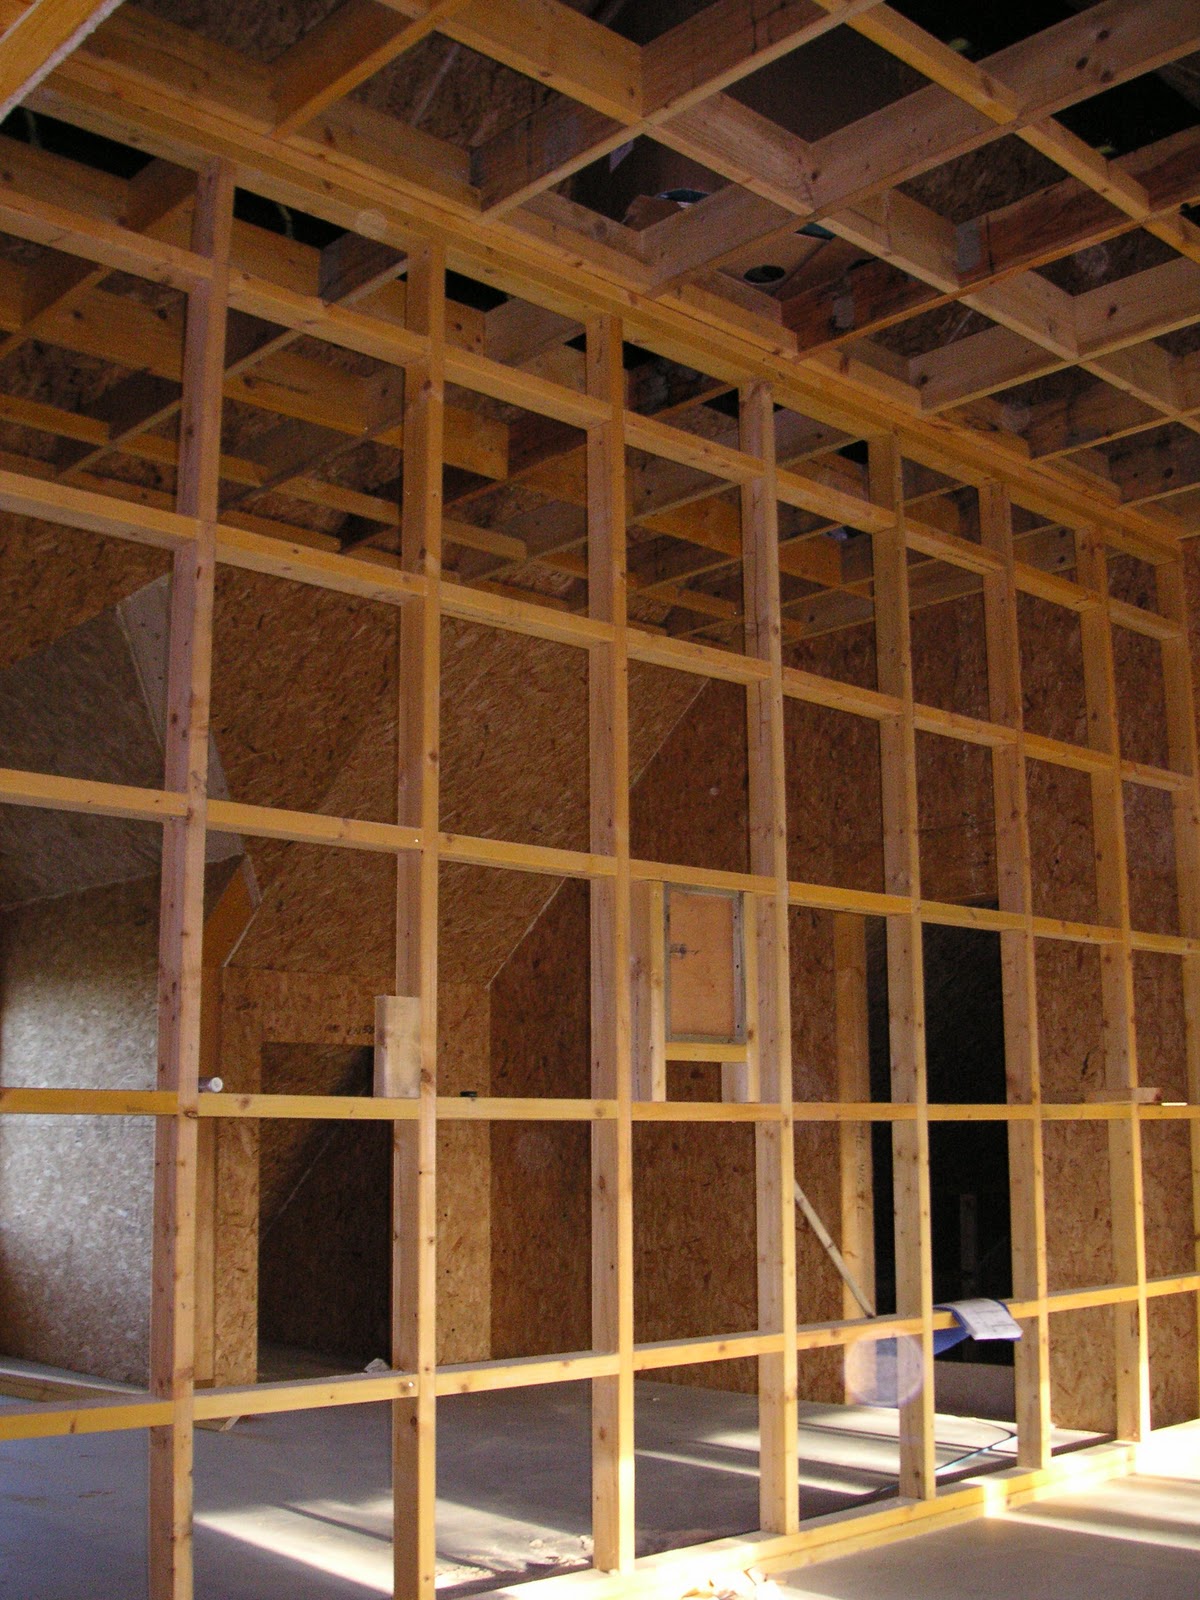
On the first floor the flat ceilings have now mostly been formed  formed along with the partition walls so it is now possible to see better what the room layout is going to be like when everything is finished. The joiners remembered to put the MVHR unit up into the attic space before the last joists went up. Good thing since it wont fit between the joists - hope we never need to take it down again!

Partition wall between Fraser's room & recreation room
Flat ceiling with MVHR unit (in box still)
Flat ceiling and partition walls in Ewan's room
I (Tor) was also back a week ago and started to get the first of the UFH pipe work installed in the master wing with help from mum & dad. Many lessons were learnt along the way which will hopefully result in a more efficent operation in future.

200mm thick insulation down first.....
...followed by DPM...
...then the UFH pipes

The master wing is good to go now and the insulation is almost complete in the lounge and started in the study.

Hopefully the partition walls are almost complete now and the garage roof finished. I'll have the oppertunity to see next weekend when I am back digging some trenches for the GSHP flow & return pipe which are scheduled to be installed into the house by the end of the month.

Wednesday, 2 November 2011

Looking good!

Mum and dad visited the house for us today and sent us some pictures of the house without the scaffolding coat that it had worn since the end of April.......and it looks great! The render has dried now to its final white colour

West face showing windows, larch render, granite & slate all coming together


Corner of the master wing


South face


North face
Dining room and bathroom


The garage is fairly  flying up and the roof trusses are already in place

Garage timber frame taking shape

Work will continue on the garage over the next week and a half. Then I get to see the house in person again... hopefully with some partition walls on the first floor

Friday, 28 October 2011

House is now fully weather tight

A big acheivement this week was the completion of the roofing works on the utility room wing. This means the house is now fully wind and water tight before the worst of the winter weather arrives. The other big step this week was the removal of the scaffolding from around the house. It can now be seen in its finished external state.

We also had the electricty meter installed at the end of last week and a temporary supply hooked up in the house. This will allow us to progress with the installation of the partition walls on the first floor, the next step towards getting the UFH pipes installed on that floor and ultimately getting the screed laid. That is the next big mile stone that we are working towards.

On the construction front the brickies were back to finish off the foundations on the garage this week and the scaffolding went up around the garage as well. This will allow the garage timber frame to be erected next week. The ground floor panels and roof trusses are onsite - just need bodies on site now to pu the jigsaw together!

Booked a further weekend trip back in late November to dig the trenches for the GSHP flow and return pipes. I'll be doing digging with a mini excavator which will be fun! Its also a good oppertunity to progress the laying of more floor insulation. This is  the critical path workscope right now with regard to getting the screed down so an extra weekend working on that this year is helpful.

No pictures this week - you will have to wait another week for those.

Saturday, 22 October 2011

Its back to managing the build from afar after 5 days back in Aberdeen putting some additional sweat eqity into the house. With dad still not back to full health I am beginning to feel the added pressure of not being able to see what is going on every day. Even if it was just few a few photographs a  phone call each day I now appreciate how much of a benefit that was during the early part of the build.

The good news is that we are now getting to the stage where the workscope is mostly with the builder with the house almost being completed fully externally now and work on the garage to commence next week.

We all arrived back in Copenhagen on Thurday after a 5 day trip back to the UK that flew by. During that time we saw the first of the wet dash render applied and started work on laying the floor insulation inside the house.  Time was also spent completing the varnishing of the remaining larch and installing gutter debris protection. The time flew by and looking at the progress it appears to be very slow and not much to show for 5 days graft. However a lot of the work is not visible but still very important to the overall goals of the build i.e. eliminating thermal cold spots and drafts.

The render is applied as a 3 layer finish. Firstly the scratch coat is applied to the block or lath, then a base coat the same colour of the final thrown coat is applied. Finally the textured final coat is thrown to give the required finish and colour. Although in the pictures above the base coat and top coat look a beige colour it will dry to a off white finish. Having said that I think we will end up painting these areas at some stage to avoid a having kameleon like house where the colour of the render changes depending on the weather and wetness of the render!


Scratch coat applied

Base coat and wet dash applied
Internally the most obvious work completed was the floor insulation laid in the lounge. This was probably one of the most fidly rooms to start with taking all day to get to this point. Lessons have been learnt and the process should be more efficent in future

First of the floor insulation laid
The big thing next week is the removal of the scaffolding from the house. It will be great to see it without this in the way and also finally see how much light our big windows will let into the house. The garage should start taking shape as well next week with work switching to there from the house. The final section of roof on the house should be slated  as well to give us a fully  wind and water tight structure -  albiet behind where I had originally hoped but still ahead of the winter weather which was the main objective

I'm hoping that our electricty meter was installed on Friday (the supply cable was pulled and connected on Monday) so we can get a temporary supply hooked up in the house. Once we have that we will also be starting to install the partition walls and flat ceilings on the first floor. Once these are in we will be able to better visualise how the layout will look on this floor. Exciting times ahead still!